Let's Learn

Resin Printing

Resin Printing 101

Anycubic Photon M3 Max

What is Resin Printing?

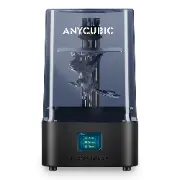
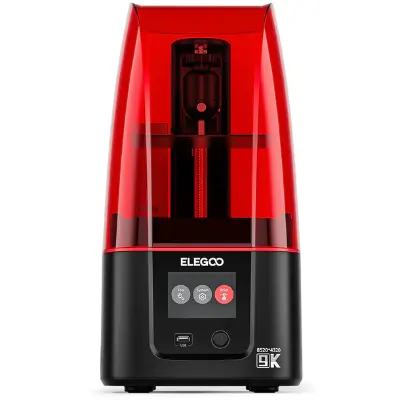
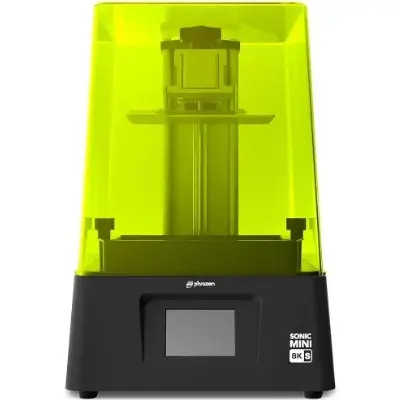
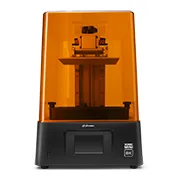
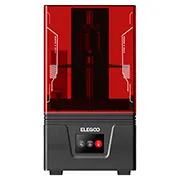
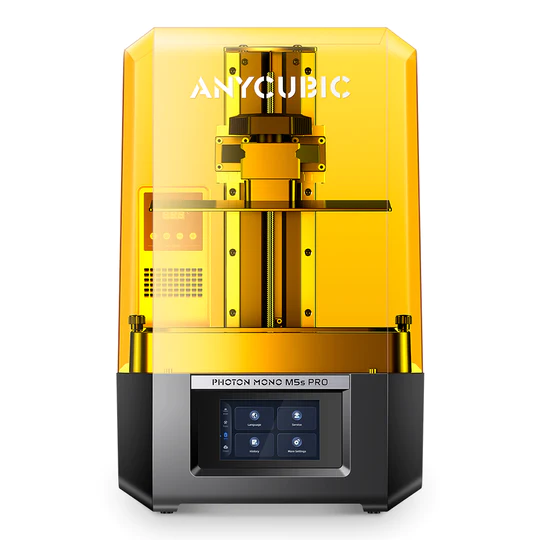
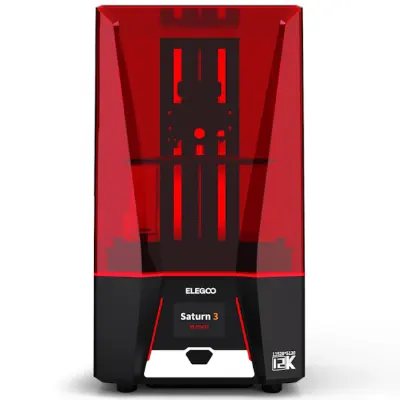
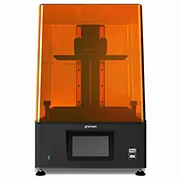
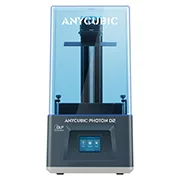
Resin printing uses the SLA, MSLA, or DLP process to create 3D objects out of a UV (ultraviolet) photopolymer.

The majority of consumer resin printers use MSLA (masked stereolithography).

Baby Yoda Resin

What can I print with Resin?

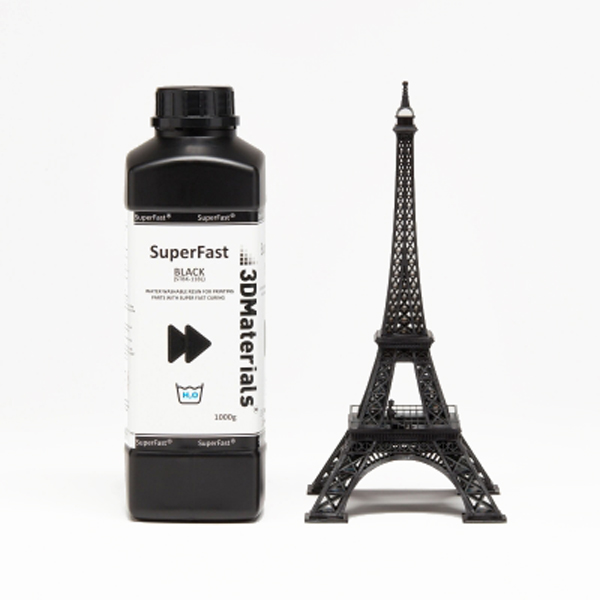
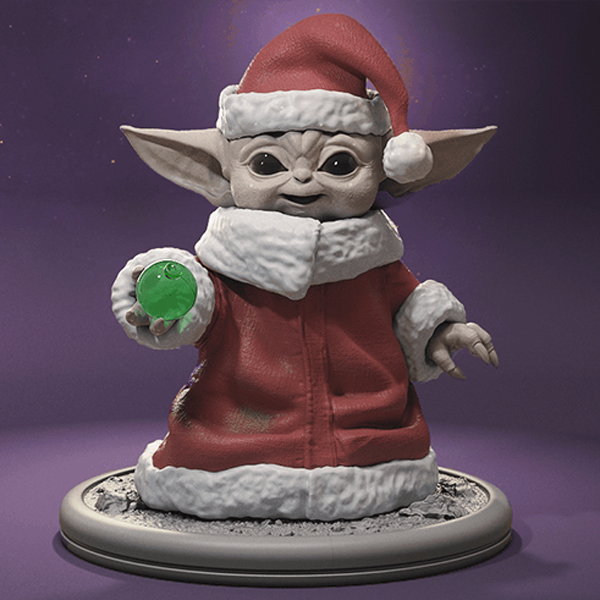
The majority of consumers use resin printing to create miniatures, game pieces, lithographs, and other trinkets.

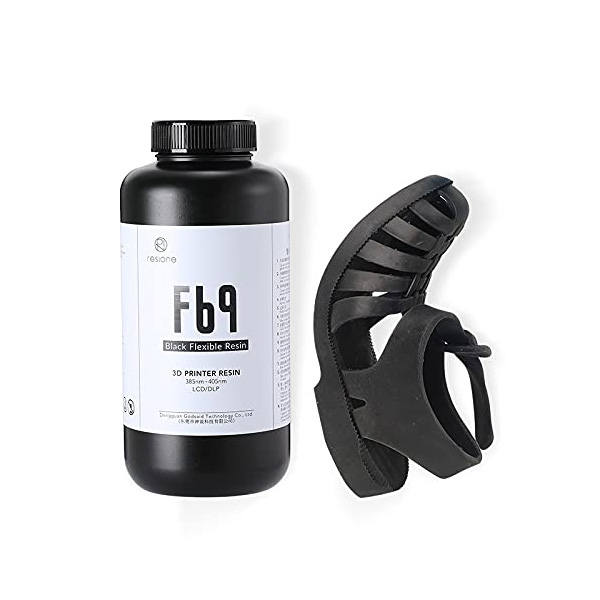
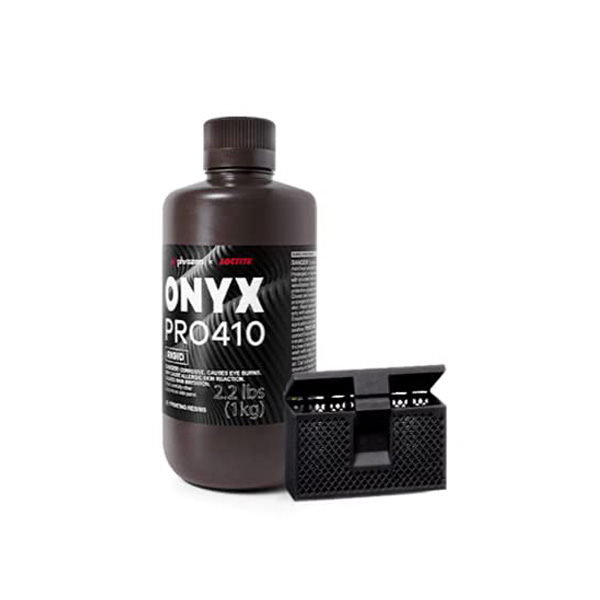
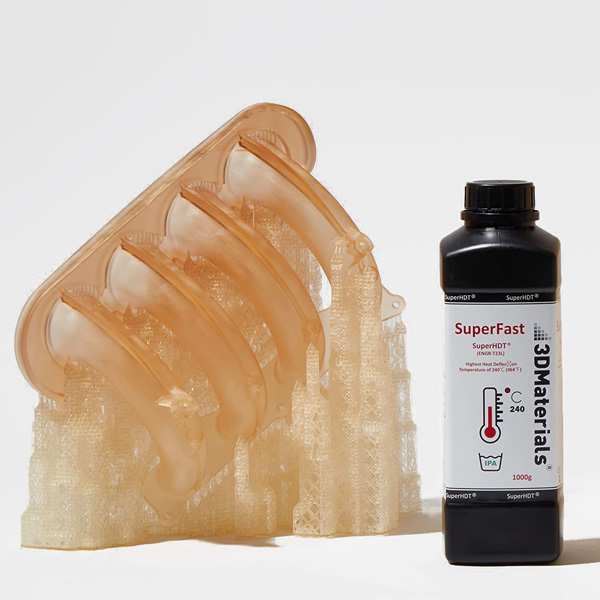
The engineering side of resin printing allows for commercial prototypes and complex objects made from flexible, ceramic, and high-temperature resins.

How much does Resin Printing cost?

Consumer resin printers cost $200-2,000 depending on the machine quality, build volume, and resolution. Budget resin is typically $25-40 per kilogram, while engineering resins are often $40-150 per kilogram. 

An entire setup for a small resin printer typically starts around $300, while a medium printer setup will be $500 at minimum. The addition of a wash & cure or ultrasonic cleaner will be one of the most expensive add-ons.

Consumables include the screen, FEP, resin, gloves, and solvents such as IPA. The LCD screen can last up to 2,000 printing hours. The FEP can last a few hundred hours but substantially less when damaged.

Entire Small Resin Printer Setup $300-500
Entire Medium Resin Printer Setup $400-800
Small Resin Printers $200-500
Medium Resin Printers $300-700
Large Resin Printers $700-2,000
Budget Resin $25-40/kg
Engineering Resin $40-150/kg
Replacement Screens $40-150
Replacement FEP or PFA $5

What do I need at bare minimum?

These are some of the basic items needed for resin printing.

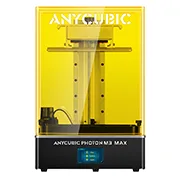
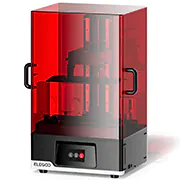
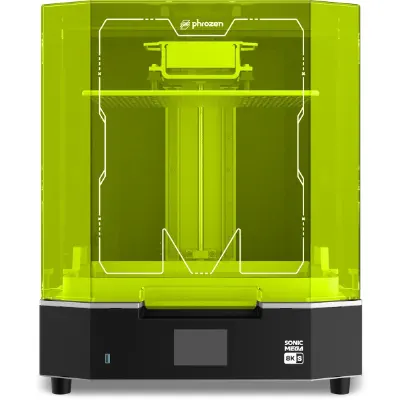
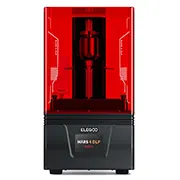
  • Resin Printer ($200-2,000)
  • STLs and Slicing Software (Free)
  • Resin ($25+)
  • IPA or Cleaner ($2-5 per liter)
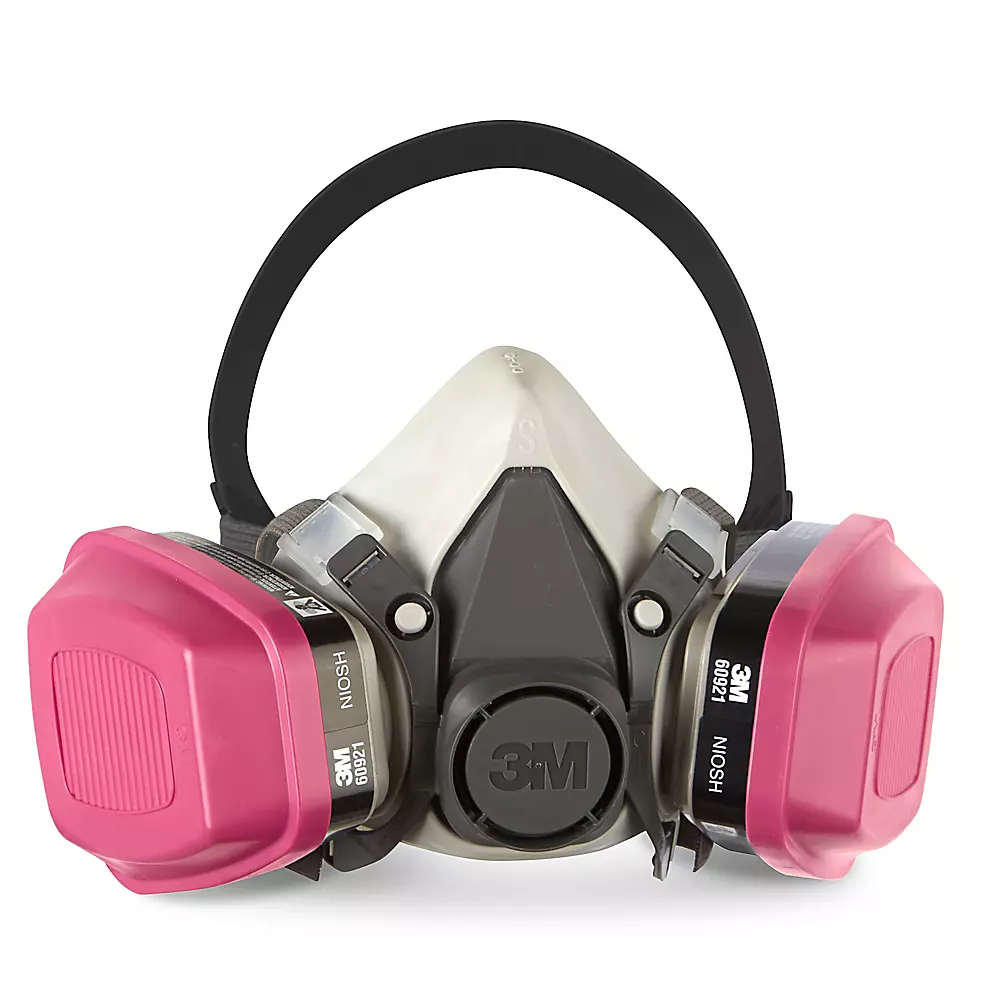
  • Nitrile Gloves ($15+)
  • Respirator ($20-40)
  • UV Lamp ($20)
  • Turntable ($10)
  • Metal Funnel ($10)

What is optional but useful?

These are some of the useful items for resin printing.

  • Wash & Cure ($100-250)
  • Ultrasonic Cleaner ($60-300)
  • Flexible Plate ($15+)
  • Extra FEP ($5+)
  • Silicone Mats ($10)
  • Baster ($5)
  • Microfiber Cloths ($15)
  • Soft Toothbrushes (<$10)

Example of a resin print session

  1. Turn on the heater for the printer, grow tent, and/or resin to warm everything up. Make sure the area is ventilated.
  2. Slice the STL and put it on the USB, then into the printer.
  3. Put on all appropriate PPE e.g. gloves, respirator, glasses, etc.
  4. If resin is in a bottle, shake and pour. If resin is in the vat, make sure it has not separated.
  5. Double check for cured pieces in the vat with a scraper or your finger with a glove on.
  6. Make sure the vat is screwed down and the acrylic cover is on, unless inside a grow tent.
  7. Start the print and you should hear the first few layers separating from the FEP.
  8. Once finished, pop the print off and remove the supports.
  9. Squirt some fresh IPA onto the print over a container to remove a considerable amount of uncured resin.
  10. Place the print in the wash & cure or ultrasonic cleaner to remove the remaining uncured resin.
  11. Let the print dry, then place it in the wash & cure for post-curing or on a turntable in front of a UV lamp. The print should not be sticky.
  12. Wet sand the print if needed. Clear coat or paint the print if desired.
  13. Turn off all equipment. The resin can be left in the vat if there is no debris, otherwise filter it back into the bottle.
  14. Throw away disposable gloves. Clean reusable gloves with IPA and UV. Clean tools and any spills. Contaminated IPA can be reused or put into the sun to cure the resin. Lid off will evaporate the IPA, whereas lid on will allow filtering reuse. IPA can be recycled using distillation.

How can I clean prints?

Resin prints have uncured resin on them after being pulled off the build plate. This resin can be removed manually or automatically.

Uncured resin can be removed manually by squirting IPA on prints, dunking the prints in containers like a pickle jar, or dabbing with a paper towel.

Cleaning automatically has a higher initial cost but reduces labor and the risk of skin exposure. Automatic cleaning of resin prints is typically performed with a wash and cure machine or an ultrasonic cleaner. In either case, the print should be cleaned until it is no longer tacky.

What to do with used IPA?

IPA (plus other cleaners like Mean Green) can be used to remove uncured resin from prints. The IPA can be reused multiple times until it becomes saturated with resin. The IPA can then be evaporated or recycled.

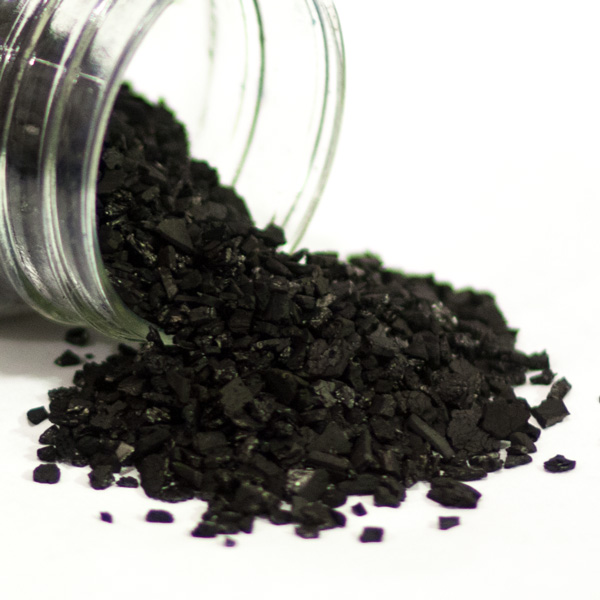
If cost is not an issue then evaporating contaminated IPA is the easiest thing to do. Just place the IPA outside in direct sunlight so that it will evaporate faster and the resin will cure. The cured resin can be disposed of as regular trash. Do not pour uncured resin down the drain.

IPA saturated with resin can be cured then manually filtered with a coffee filter. This eliminates resin debris but the process is imperfect. Distillation will recycle the IPA into a pure form, but it does have safety risks.

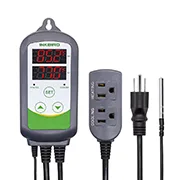
How does heat or cold affect printing?

The ideal temperature range for most budget resin is 20-30°C. Some manufacturers recommend printing only above 25°C, especially for engineering resins.

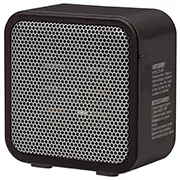
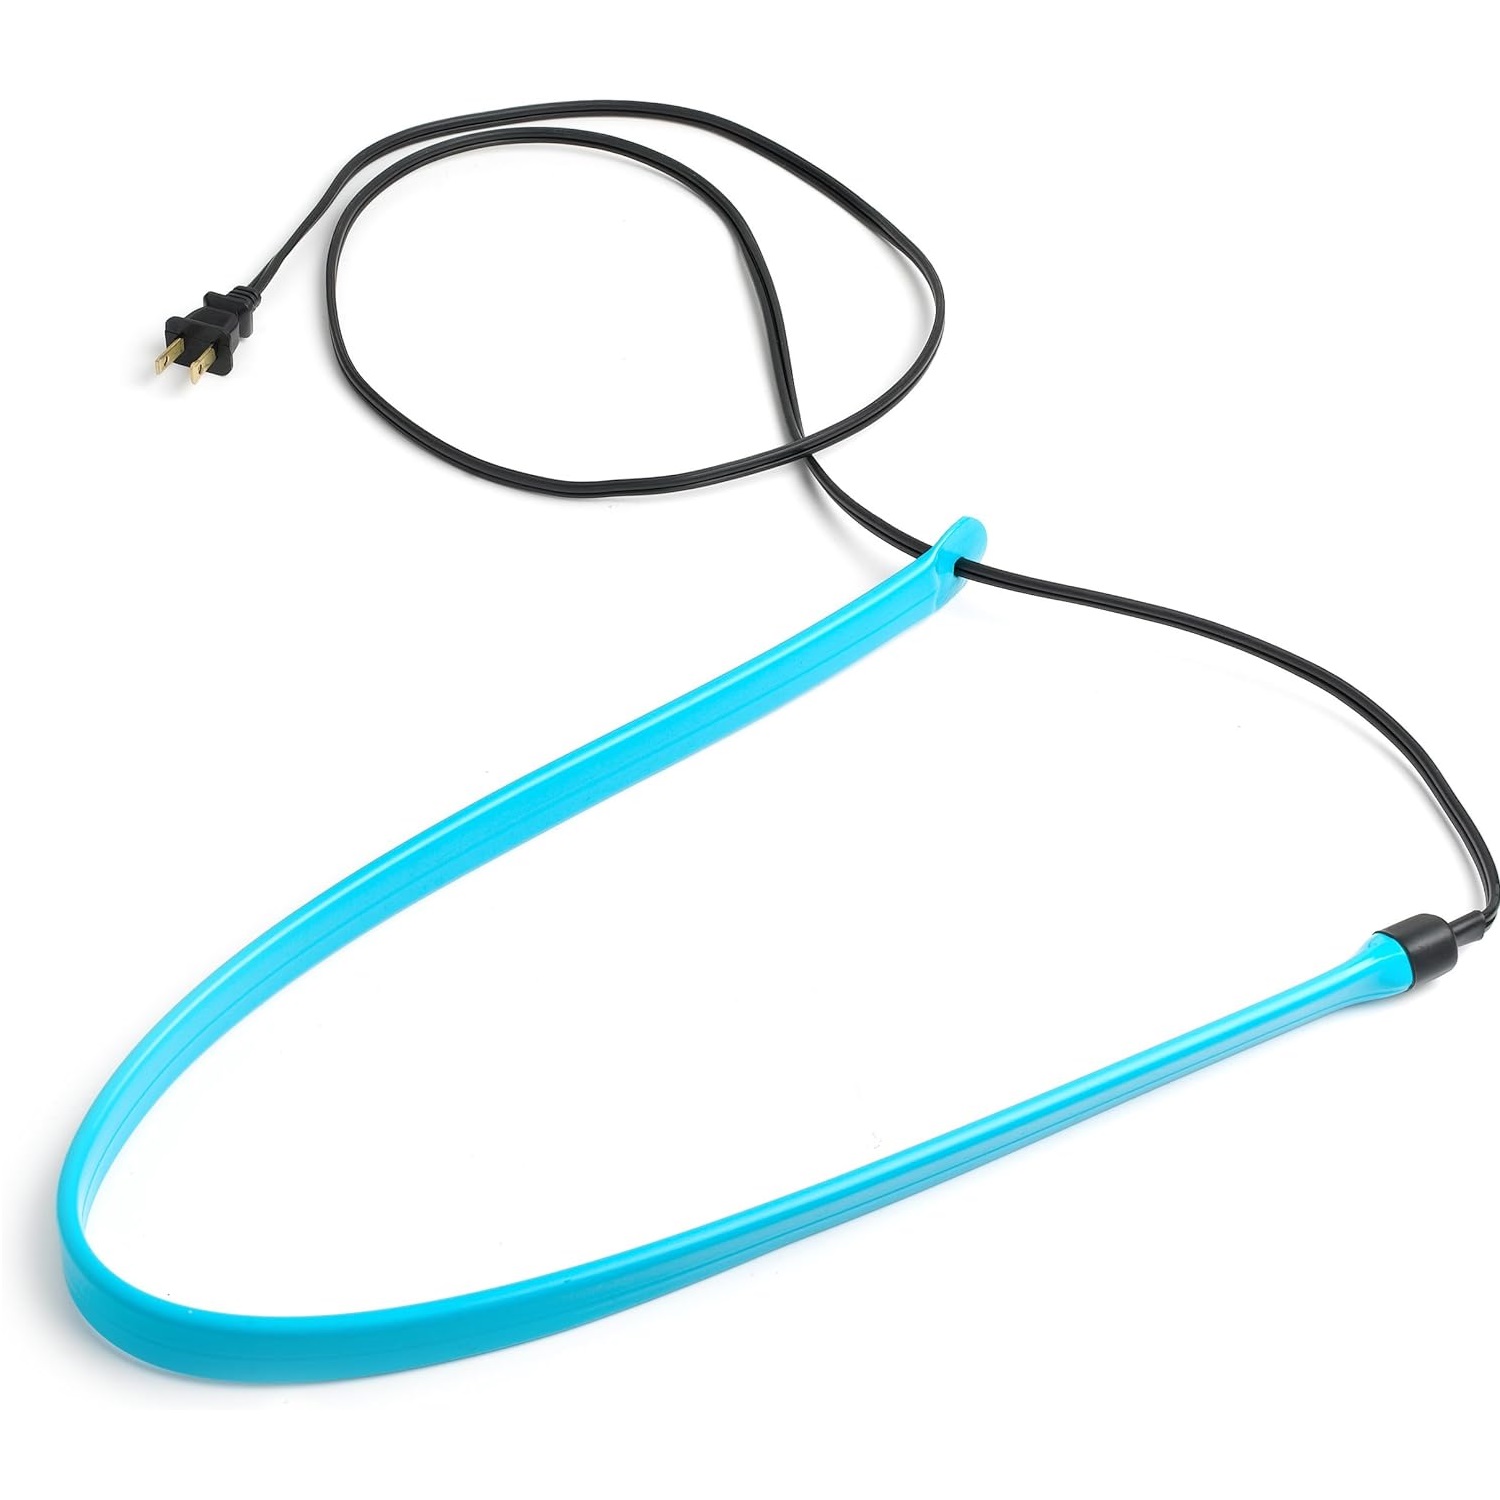
When resin is too cold it will not cure properly, so a heat source is needed. The heat source can be a heat pad, ceramic heater, space heater, or even non-UV lights like sodium bulbs.

When resin is too warm (40-50°C), the supports and resin part can lose rigidity and fail. Higher temperatures can also reduce the life of electronics such as the screen.

Resin Heater Amazon
Resin Belt
Resin Temperature Controller
Resin PTC Heater

Resources for Resin 101

Resin 3D Printers

Small Resin Printers

These are some of the top-rated small resin printers that have been released within the past year. There are constantly new models being released by these companies, often improving on the resolution and quality of life features. The MSLA printers with a higher resolution are ideal for tight tolerances, jewelry casting, commercial items, and those with splash cash.

Anycubic
Mono 2

$200
XY Resolution: 0.035 mm
Volume: 143x89x165 mm

Anycubic Mono 2

Elegoo
Mars 4

$200
XY Resolution: 0.018 mm
Volume: 153x77x175 mm

Elegoo Mars 4

Phrozen
Mini 8K S

$350
XY Resolution: 0.022 mm
Volume: 165x72x170 mm

Phrozen Mini 8K S

Phrozen
Mini 8K

$400
XY Resolution: 0.022 mm
Volume: 165x72x180 mm

Phrozen Mini 8K

Medium Resin Printers

Medium MSLA resin printers have the same functionality as their smaller brethren, but their extra size corresponds with the increased price. The main downside to the extra size is that replacement screens will cost more. Medium resin printers excel at printing larger parts and batch printing smaller items.

Elegoo
Mars 4 Max

$250
XY Resolution: 0.034 mm
Volume: 196x122x150 mm

Elegoo Mars 4 Max

Anycubic
Mono M5S Pro

$450
XY Resolution: 0.016 mm
Volume: 223x126x200 mm

Anycubic Mono M5S Pro

Elegoo
Saturn 3

$350
XY Resolution: 0.019 mm
Volume: 219x123x250 mm

Elegoo Saturn 3

Phrozen
Mighty 8K

$600
XY Resolution: 0.028 mm
Volume: 218x123x235 mm

Phrozen Mighty 8K

Large Resin Printers

Large MSLA resin printers are still new to the consumer market, and this is the most build volume you be able to have without purchasing an industrial machine or building a custom printer. Larger resin printers are ideal for very large prints and batch printing medium-sized prints.

Anycubic
M3 Max

$800
XY Resolution: 0.043 mm
Volume: 298x164x300 mm

Anycubic M3 Max

Elegoo
Jupiter SE

$700
XY Resolution: 0.051 mm
Volume: 278x156x300 mm

Elegoo Jupiter SE

Phrozen
Mega 8K S

$1,500+
XY Resolution: 0.043 mm
Volume: 330x185x400 mm

Phrozen Mega 8K S

DLP Resin Printers

Consumer DLP resin printers use mirror chips manufactured by Texas Instruments. These DLP printers are more expensive per build volume, but they result in high quality prints and the projector has an estimated lifespan of 20,000 hours.

Elegoo
Mars 4 DLP

$350
XY Resolution: 0.051 mm
Volume: 132x74x150 mm

Elegoo Mars 4 DLP

Anycubic
D2 DLP

$350
XY Resolution: 0.051 mm
Volume: 131x73x165 mm

Anycubic D2 DLP

Resources for Comparing Resin Printers

Types of 3D Resin

Budget Resin

Budget Resin

Budget 3D printing resin is affordable ($25-40) and typically brittle. Budget resin properties vary wildly between manufacturers and can come in many different colors. Flexible resin can be mixed with budget resin to grant impact resistance.

Durable Resin

Durable Resin

Durable resins are moderately flexible, which makes them perfect for miniatures, game pieces, gifts, prototypes, and tooling. These are typically more expensive than budget resins ($40-70) but do not require mixing with flexible resins.

Flexible Resin

Flexible Resin

Flexible 3D printing resin is perfect for mixing, rubber-like prototyping, grips, gaskets, molds, and fun squeezable prints. Flexible resins typically have a lower elongation and tensile strength than flexible filaments such as TPU and OBC.

Strong Resin

Strong Resin

Strong resins have high modulus and strength values. This type of resin is ideal for fixtures, tooling, housings, pressurized components, and rigid prototypes. Strong resins are comparable in properties to filaments such as PLA, PETG, ABS, and PC.

High Temperature Resin

High-Temp Resin

High-temperature 3D printing resins have a high heat deflection temperature (HDT). These resins are ideal for high-temp molds, hot fluids, and components exposed to extreme environments. High-temperature resin can outperform most consumer filament.

Resin Safety

Resin Skin Contact

Skin Contact

For short-term exposure, skin contact with resin is the worst-case scenario. It can often go unnoticed, which is why PPE is important. Resin can cause sensitization, burns, eye damage, organ damage, and harm to unborn & young children.

This may sound scary but it is just another industrial chemical. Children and pregnant women should not be interacting with resin, and proper PPE takes care of the rest. Disposable or reusable nitrile gloves should always be used, and eye & skin protection is highly recommended.

If you get resin on your skin, wash it off with soap and water - do not use a solvent like IPA. Taking a shower after cleaning prints is a best practice and can remove any unnoticed skin exposure.

Resin Respirator

Inhalation

Inhalation of the VOCs emitted from the resin is another concern. While studies on resin are lacking, the chemicals that go into resin are reasonably studied, but the tricky part is that nearly every resin uses a different combination of chemicals.

Short-term inhalation can be prevented by wearing an organic vapor respirator, which is highly recommended. The combination cartridges are fantastic for sanding as well.

Long-term inhalation can be prevented by placing the printer outside the residence (garage, workshop, shed, etc) or venting the printer out a window.

Resin Ventilation

Ventilation

Ventilation is currently the only method to ensure that you are not exposed to resin fumes long-term.

The easiest method of ventilation is placing the printer outside your residence in a garage, shed, or on a balcony in a grow tent.

If the printer can not be placed outside then the next best option is to use a separate/sealed room and vent the fumes out a window. This is usually done with a cheap enclosure like a grow tent. It is recommended not to do this in bedrooms, common areas, and kitchens.

Resin Filtration

Filtration

Filtration of VOCs works by trapping the airborne chemicals inside the pores of activated carbon. However, using activated carbon is not perfect. The exact efficiency can vary with the activated carbon size, surface area, thickness of the media, airspeed, temperature, saturation level, humidity, impregnation, and the chemical to be adsorbed.

Thus, it is recommended that filtration of resin fumes should only be used as mitigation and a secondary defense. Mitigation would be using a small filter in or near the printer while being vented. A secondary defense would be using a typical household air purifier near but outside the room used for resin printing.

Safety Tips

  • Operate the printers and store resin in a well ventilated area.
  • Wear a respirator, safety glasses, and protective clothing.
  • Use only nitrile gloves.
  • If resin is spilled on skin wash off with soap and water - DO NOT use IPA or solvents.
  • Never pour resin or contaminated cleaners down a drain.
  • When possible, plan to clean prints before showers to remove unnoticed skin exposure.
  • Keep unsupervised children and pregnant women away from resin and the fumes.

Resin Troubleshooting

Resin Printer Troubleshooting

A screen protector can be used to safeguard the screen, but this can lower your UV power level.

Instead of pouring resin out with the vat, you can use a tool like a baster to transfer the resin.

Make sure to consistently check the FEP/PFA film for damage, and keep the print clean.

A screen is dying is the exposure test is abnormal, dead pixels are creating holes throughout prints, and a thin layer of resin is curing across the part, supports, or vat.

Slicing Troubleshooting

You can reduce or even eliminate elephant's foot by creating an inward chamfer in CAD, applying compensation in a slicer, or by shrinking the first few layers using UVtools.

Printing Session Troubleshooting

Make sure that the ambient temperature is appropriate for the resin you are using. Typically, the ideal range is 20-30°C (68-86°F), but always check the manufacturer's recommendation.

Temperatures that are low will cause failures, and elevated temperatures (40°C+) can reduce resin rigidity.

Make sure that parts are properly supported with thick and dense supports.

This is commonly the result of a bad USB drive.

To increase the likelihood that prints will stick to the build plate, raise the base exposure time, lower your lift speed, add a raft, lightly sand the build plate, and check for build plate defects (like not being flat).

Post-Processing Troubleshooting

Carefully use the scraper as hard as you can to get the print off.

In the future, use a chamfered raft or flexible build plate to easily remove prints.

In UVtools, you can use raft relief, which should make removing the raft easier.

Resources for Resin Troubleshooting

Have a reputable resource to add?